Tuff Resources
Preparing Your Garden Bed
Before You Start
Use these practical guides and resources to achieve a professional, long-lasting result every time. Proper installation is the foundation of lasting performance and an investment in the future of your garden.

Step 1: Plan Your Edging Line
Start by deciding exactly where your Tuff Edge will sit. Use a garden hose, string line or marking paint to map out the edge before digging. This allows you to step back, check the shape and make adjustments before any ground is disturbed.
For straight runs, use a string line to keep the edge neat. For curves, a garden hose is a simple way to test the flow of the garden bed or lawn edge
Step 2: Measure the Area
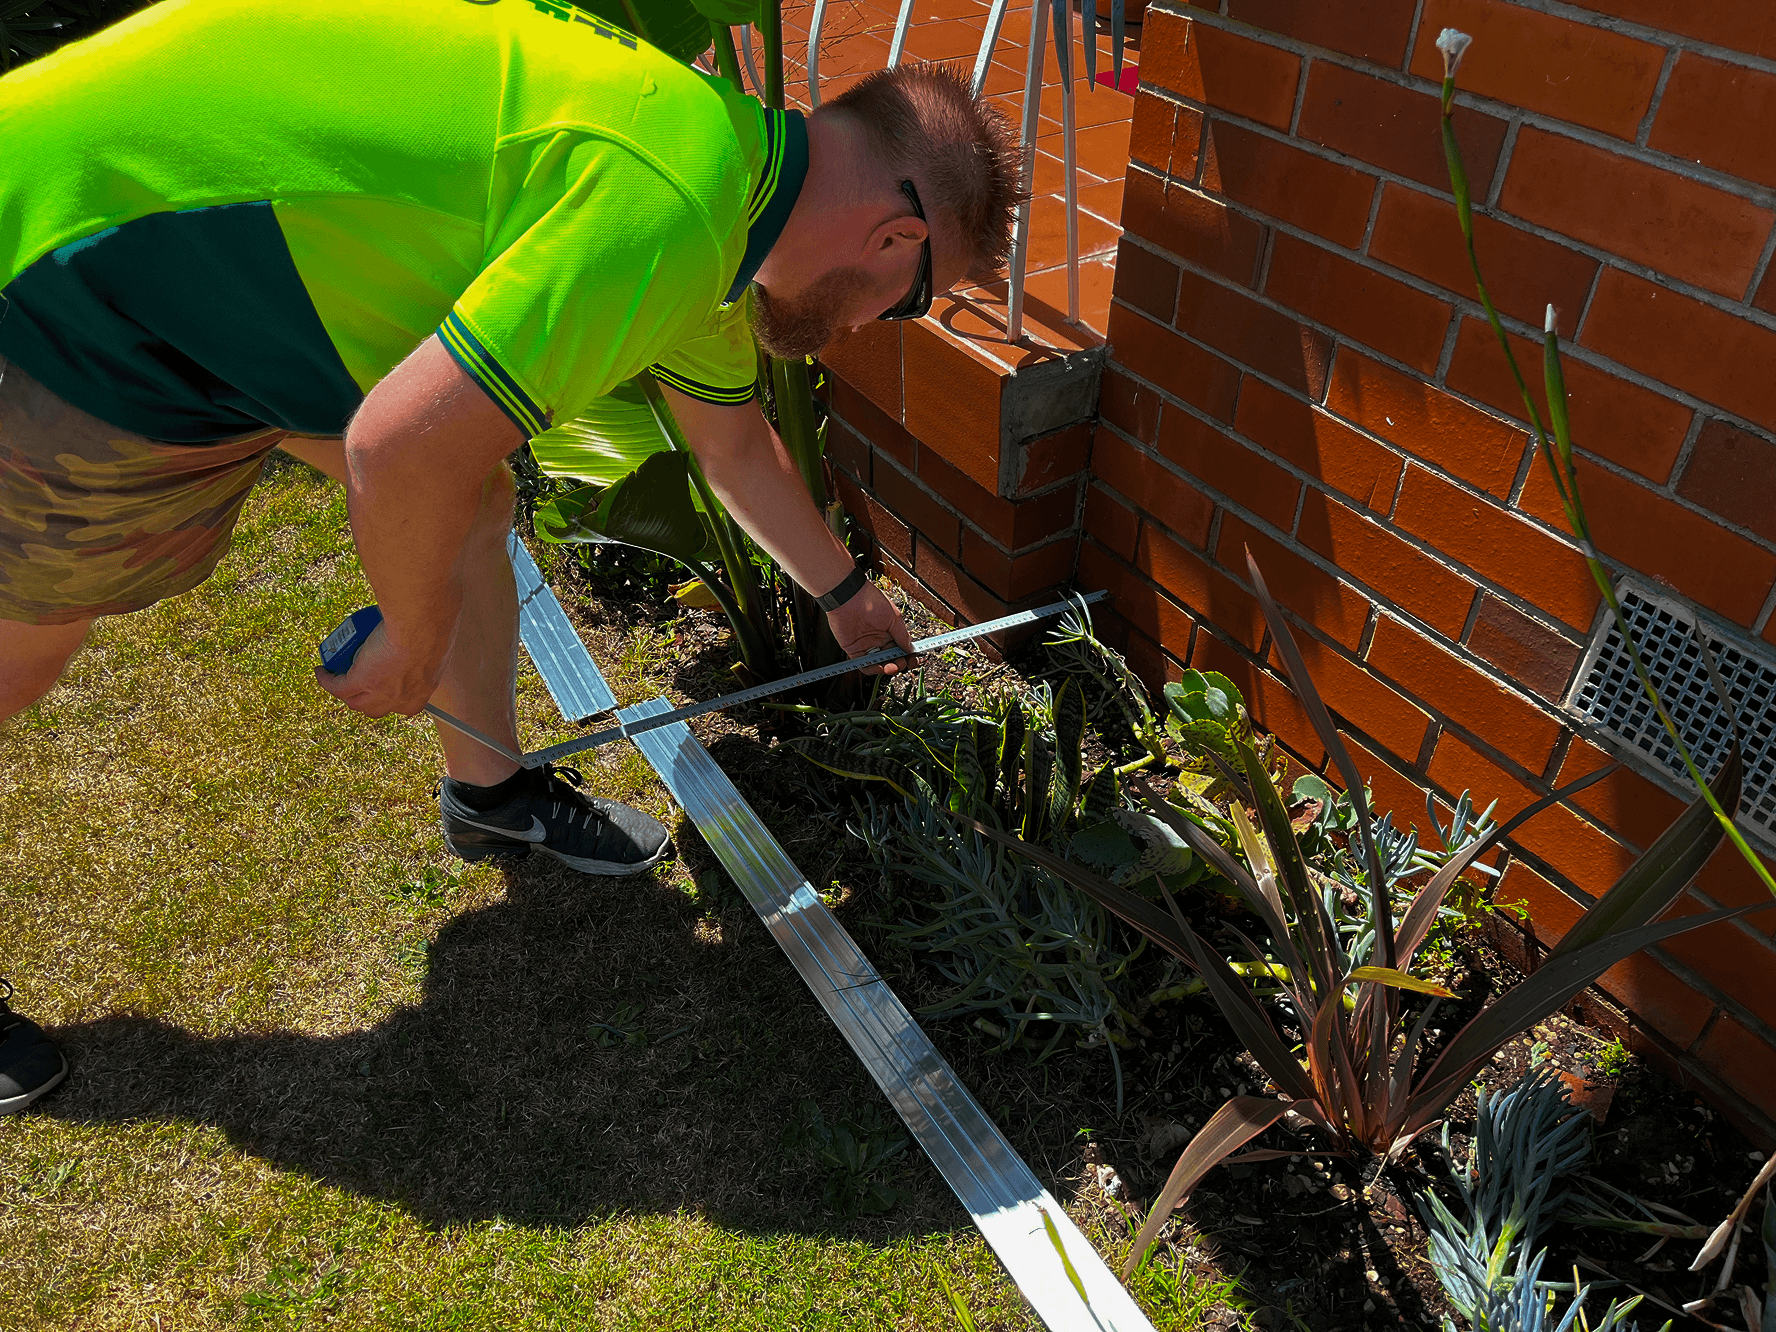
Once your line is marked, measure the total length so you know how much edging is required. Allow a little extra for joins, corners, cuts or small adjustments on site.
Step 3: Check Before You Dig
Before digging, check for underground services such as irrigation, electrical, gas, water or communication lines. This step is especially important in front yards, near driveways, along boundary lines, around water meters, or anywhere services may be present.
Australian customers can use Before You Dig Australia to request information about underground infrastructure before starting ground works.
Step 4: Clear the Ground
Remove grass, weeds, roots, loose mulch, stones and debris from the marked line. A clean working area makes it easier to keep the edging straight and secure.
Step 5: Dig a Shallow Trench
Dig a trench along your marked line. The trench should be slightly wider than the edging, deep enough to hold the edging securely, even enough to keep the top line neat, and free from loose stones, roots and large clumps of soil.
For standard Tuff Edge garden edging, prepare a shallow trench that allows the edging to sit firmly in place while leaving the desired height visible above ground. As a general guide, a minimum trench depth of around 30mm is suitable for many low-profile edging applications, unless site conditions require deeper preparation.
Step 6: Check Levels and Flow
Before placing the edging, check the trench line from different angles. The finished edge should look smooth, balanced and intentional.
For straight lines, use a string line. For curves, step back and check the full shape before moving forward.
Step 7: Lay Out the Edging Before Securing
Place your Tuff Edge lengths along the prepared trench before fixing them into position. This helps you confirm where joins will sit, where corners or curves need to be shaped, where cuts may be required, and whether the line looks correct before installation.
Step 8: Prepare for Different Ground Conditions
If the soil is soft, sandy or loose, compact the trench base lightly before installing. If the soil is hard or dry, dampening the ground slightly can make preparation easier.
Step 9: Final Check Before Installation
Before installing your Tuff Edge, check that:
- The area is clearly marked
- The trench is clean and even
- Underground services have been considered. Joins and corners are planned
- The edging line has been checked from a distance
- You have the right tools, gloves and safety equipment.