Tuff Resources
The Complete Install Guide
When You Start
Use these practical guides and resources to achieve a professional, long-lasting result every time. Proper installation is the foundation of lasting performance and an investment in the future of your garden.
Step 1: Prepare the Base
Clear the area, level and compact the sub-base.
Step 2: Set Out the Edging
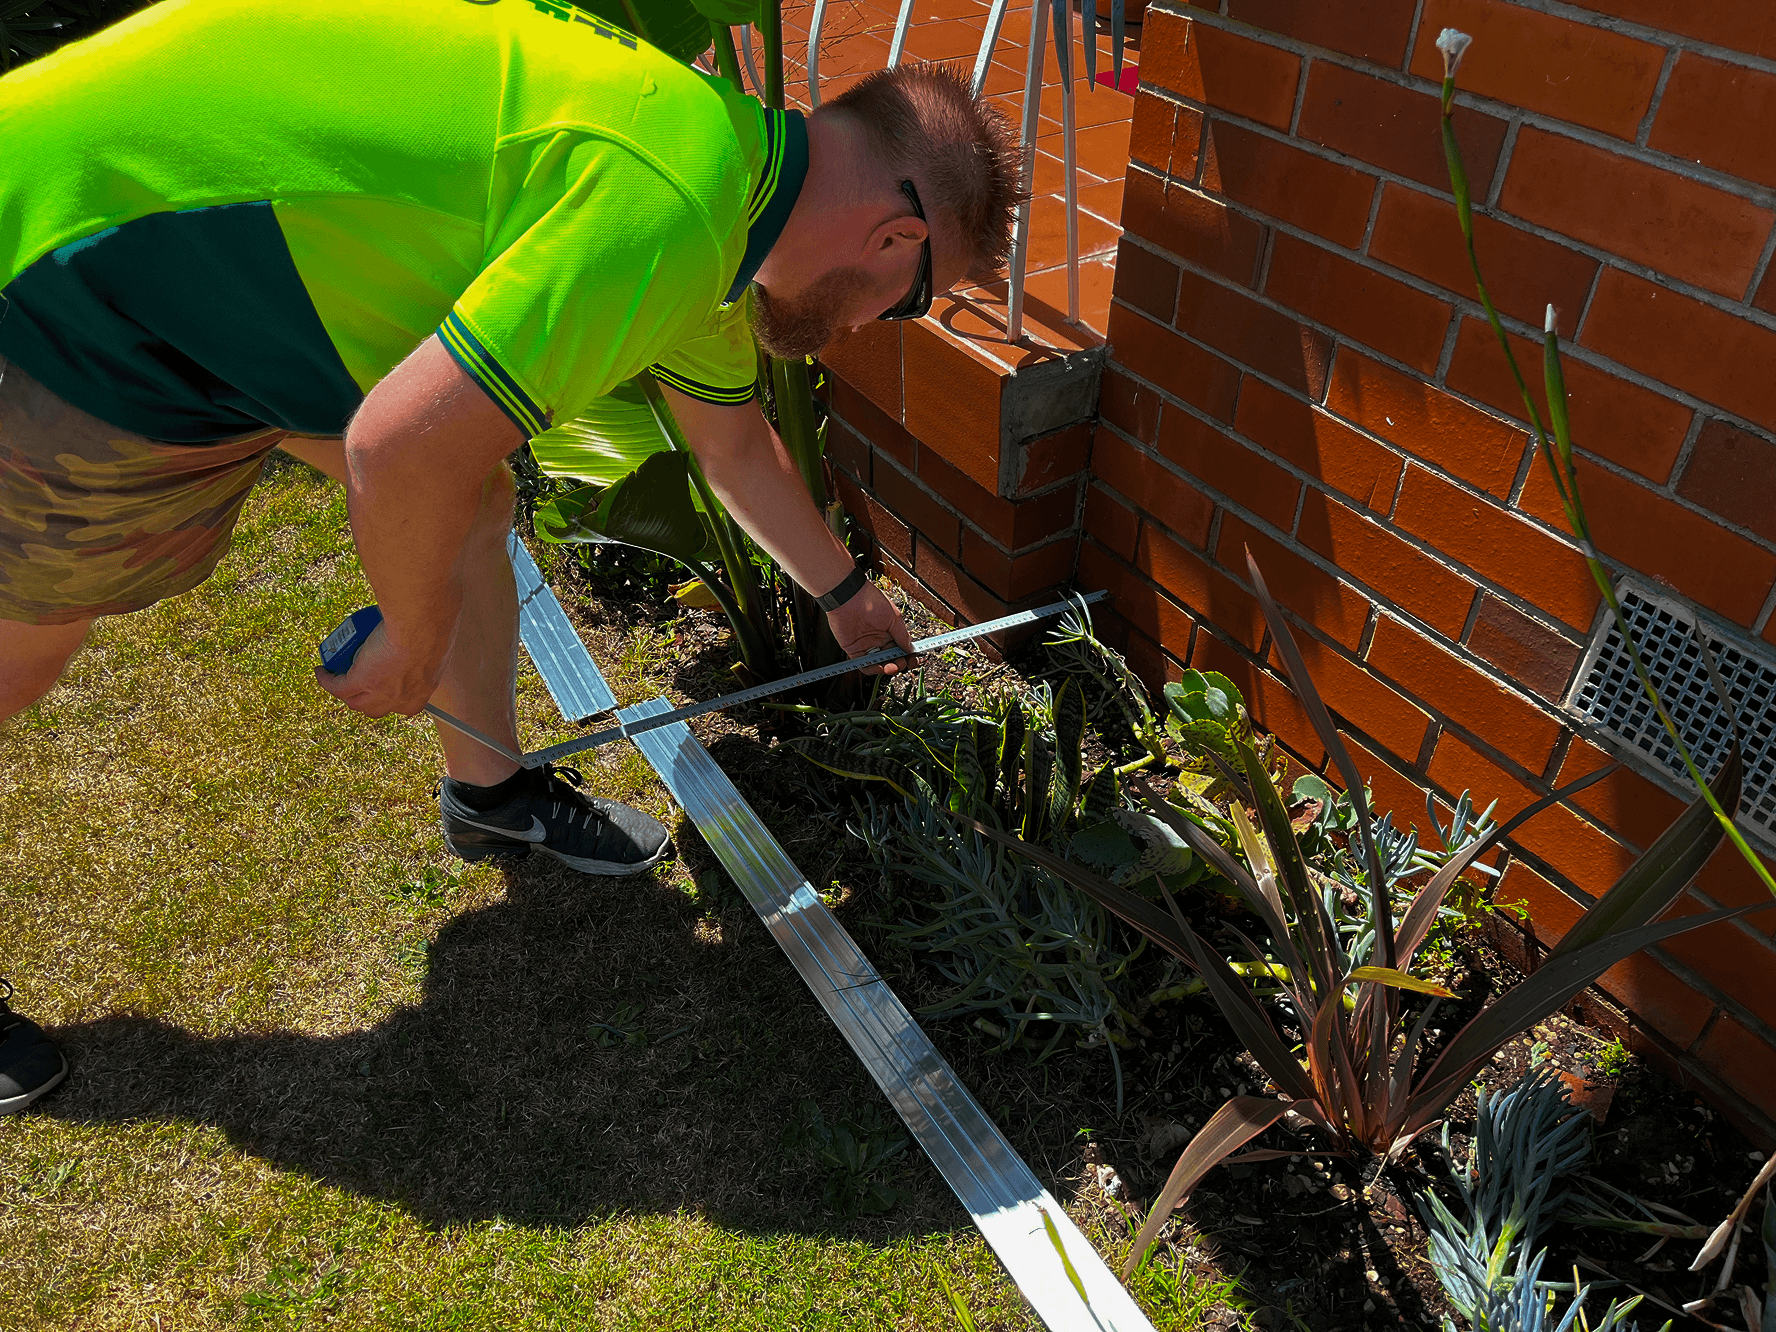
Lay out your Tuff Edge® Lengths roughly in the area you are using it. If your area is straight in shape then you can use a string line for correct positioning, making sure the string is above the height of the aluminium edge. If your area has an arc you can use a hose or rope to define the area.
Step 3: Attach the First Anchor
Starting at one end clip on your Single Anchor
Step 4: Partially Spike into Place
(Fig. 1) and hammer Edging Spike through the hole. Ensure you only hammer the spike half way down just in case you need to re-position.
Step 5: Secure the First Length
Work your way along the first piece of edge and clip on your Single Anchor pieces where required. We recommend using 3 spikes for every 2m length but more may be required in key areas such as curves, corners or if the ground is soft.
Step 6: Join the Next Length
Join the second piece of Tuff Edge® Length into the first by sliding on the Dual Connector piece (Fig. 2) evenly onto both pieces. Ensure both pieces are butted in neatly so that it provides a seamless finish. Hammer one spike into each of the Dual Connector holes.
Step 7: Continue Around the Area
Continue with the same process until you have completed your area. If you have a 90°degree join or corner you will need to use a Corner Piece. Slide the Corner Piece (Fig. 3) evenly into both pieces. Slide on one Single Anchor piece on each side of the corner and hammer spike through the hole to provide extra support.
Step 8: Finalise the Edging Position
Finish edging off by clipping a Single Anchor piece on the very last end of the aluminium edge and hammer spike through. Go back and look over your edging and if you are happy with the position of your Tuff Edge® hammer all pieces fully into the ground.
Step 9: Backfill and Finish
Fill in each side of your Tuff Edge® with the desired material you are using if the aluminium is acting as a divider between the two areas. If you are looking for a sleek and modern finish leave your Tuff Edge face exposed for a fantastic look.

